DDEV share: Sharing a DDEV project with other collaborators in real time

Even though DDEV is intended for local development on a single machine, not as a public server, there are a number of reasons you might want to expose your work in progress more broadly:
- Testing with a mobile device
- Sharing on a local network so that everybody on the local network can see your project
- Some CI applications
There are at least three different ways to share a running DDEV project outside the local developer machine:
ddev share(using ngrok to share over the internet)- Local name resolution and sharing the project on the local network
- Sharing the HTTP port of the local machine on the local network
1. Using ddev share to share project (easiest)
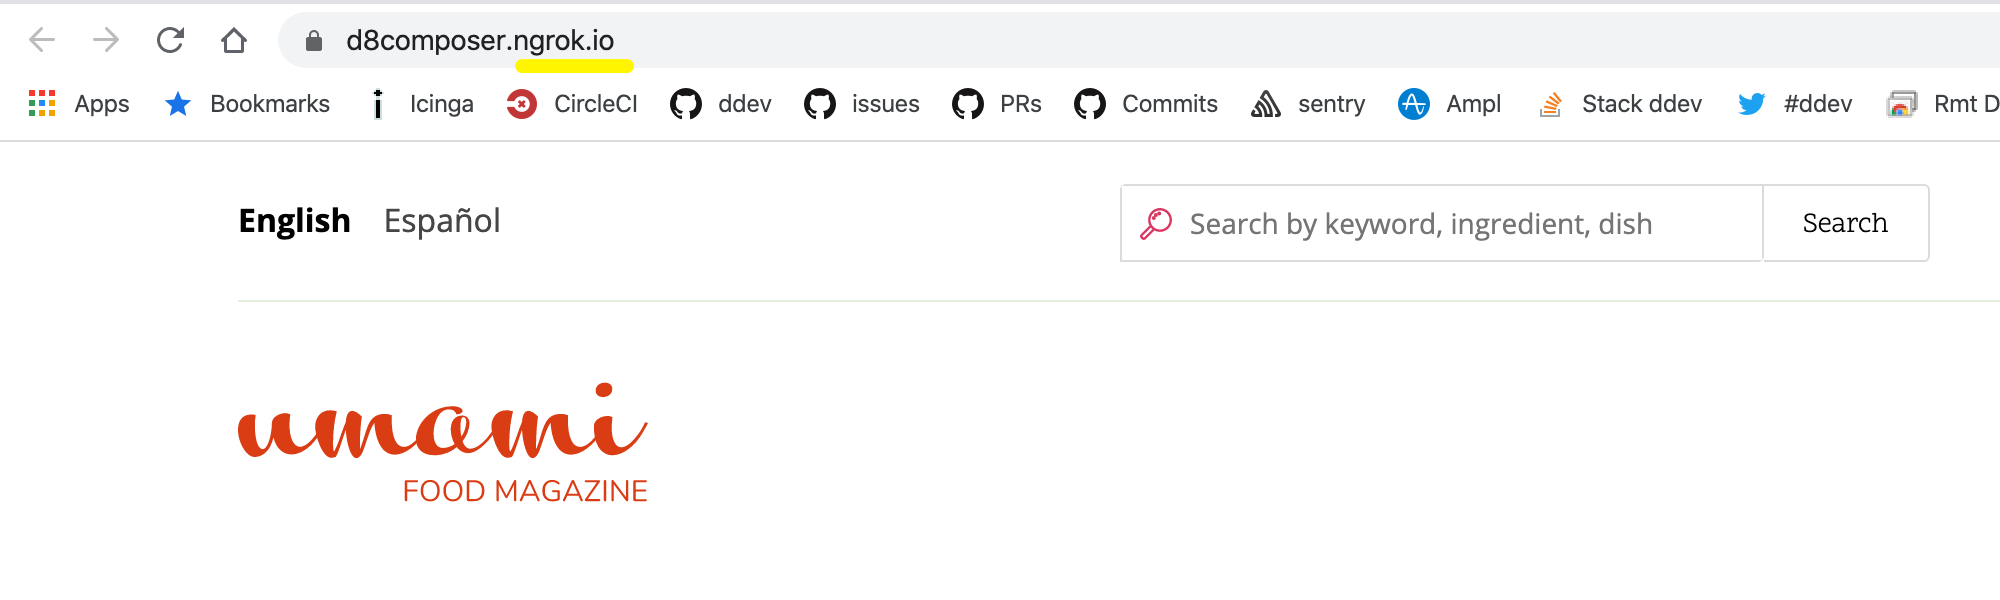
ddev share proxies the project via ngrok, and it’s by far the easiest way to solve the problem of sharing your project with others on your team or around the world. It’s built into DDEV and works for most people even without a paid ngrok account. Run ddev share and give the resultant URL to your collaborator or use it on your mobile device. Read the basic how-to from DrupalEasy or run ddev share -h for more.
There are CMSs that make this a little harder, especially WordPress and Magento 2. Both of those only respond to a single base URL, and that URL is coded into the database, so it makes this a little harder. For both of these I recommend paying ngrok the $5/month for a basic plan so you can use a stable subdomain with ngrok.
Setting up a stable subdomain with ngrok
- Get a paid token with at least the basic plan, and configure it. (It will be in
~/.ngrok2/ngrok.ymlasauthtoken. - Configure
ngrok_argsto use a stable subdomain. In.ddev/config.yaml,ngrok_args: –subdomain wp23will result in ngrok always usingwp23.ngrok.ioas the URL, so it’s not changing on you all the time.
WordPress: Change the URL with wp search-replace
WordPress only has the one base URL, but the wp command is built into DDEV’s web container.
This set of steps assumes an ngrok subdomain of “wp23” and a starting URL of https://wordpress.ddev.site.
- Configure
.ddev/config.yamlto use a custom subdomain:ngrok_args: --subdomain wp23 - Make a backup of your database with
ddev export-dborddev shapshot - Edit
wp-config-ddev.php(or whatever your config is) to changeWP_HOME, for example,define('WP_HOME', '[<https://wp23.ngrok.io>](<https://wp23.ngrok.io/>)'); ddev sshwp search-replace [<https://wordpress.ddev.site>](<https://wordpress.ddev.site/>) [<https://wp23.ngrok.io>](<https://wp23.ngrok.io/>)(assuming your project is configured forhttps://wordpress.ddev.siteand yourngrok_argsare configured for the wp23 subdomain)- Now
ddev share
Magento2: Change the URL with magento tool
This set of steps assumes an ngrok subdomain “mg2”
- Configure
.ddev/config.yamlto use a custom subdomain:ngrok_args: --subdomain mg2 - Make a backup of your database.
- Edit your
.ddev/config.yaml ddev sshandbin/magento setup:store-config:set --base-url="[<https://mg2.ngrok.io/>](<https://mg2.ngrok.io/>)"ddev shareand you’ll see your project onmg2.ngrok.io
2. Using xip.io and or your own name resolution and open up to the local network
The second solution is to not use *.ddev.site as your project URLs, but to use DNS that you control (and that points to the host machine where your project lives). In general you’ll want to use HTTP URLs with this approach, because it requires manual configuration of the client machine to get it to trust the development certificate that ddev uses (and configures with mkcert on the local machine).
- Use xip.io to point a domain name to your host. If your computer’s IP address is 192.168.5.101, you can use a domain name like mysite.192.168.5.101.xip.io and that domain name will point to your computer. Now add that as an additional_fqdn to your project,
ddev config --additional-fqdns=mysite.192.168.5.101.xip.ioandddev start. Now people in your internal network should be able toping mysite.192.168.5.101.xip.ioif your firewall allows it. (Note that if you have other convenient ways to create a DNS entry for this, you can use those instead of using xip.io.) - Configure ~/.ddev/global_config.yaml to bind to all ports:
ddev config global --router-bind-all-interfaces && ddev poweroff && ddev start - Now mobile apps or other computers which are on your local network should be able to access your project. Use the http URL rather than the HTTPS URL because computers outside yours don’t know how to trust the developer TLS certificate you’re using. (You can use
ddev describeto see the HTTP URL, but it’s typically the same as the HTTPS URL, but withhttp://instead ofhttps://.) - Make sure your firewall allows access from your local network to the main interface you’re using. In the example here you should be able to ping 192.168.5.101 and
curl [<http://192.168.5.101>](<http://192.168.5.101>)and get an answer in each case. - If you’re using WordPress or Magento 2 you’ll need to change the base URL as described in the
ddev shareinstructions above.
3. Exposing a port from the host
DDEV’s web container also exposes an HTTP port directly (in addition to the normal routing by name and via ddev_router). You can expose this port and it may be a useful approach in some situations.
- Add a
docker-compose.localnet.yamlto your project’s.ddevdirectory. This example will expose HTTP on port 8080:version: "3.6" services: web: ports: - "0.0.0.0:8080:80" - "0.0.0.0:8443:443" ddev start- Make sure your firewall allows access to the port on your host machine.
- If you’re using WordPress or Magento 2 you’ll need to change the base URL as described in the
ddev shareinstructions above. - Each site on your computer must use different ports or you’ll have port conflicts, and you can’t typically use ports 80 or 443 because ddev-router is already using those for normal routing.
Computers and mobile devices on your local network should now be able to access port 8080, on the (example) host address 192.168.5.23, so http://192.168.5.23:8080. You’ll probably want to use the HTTP URL your coworker’s browser will not trust the developer TLS certificate you’re using.
What next?
Find us and other DDEV community experts via one of our support channels.
Take a look around the project on GitHub and feel free to contribute!