DDEV, Docker, Chromebook!

Introduction
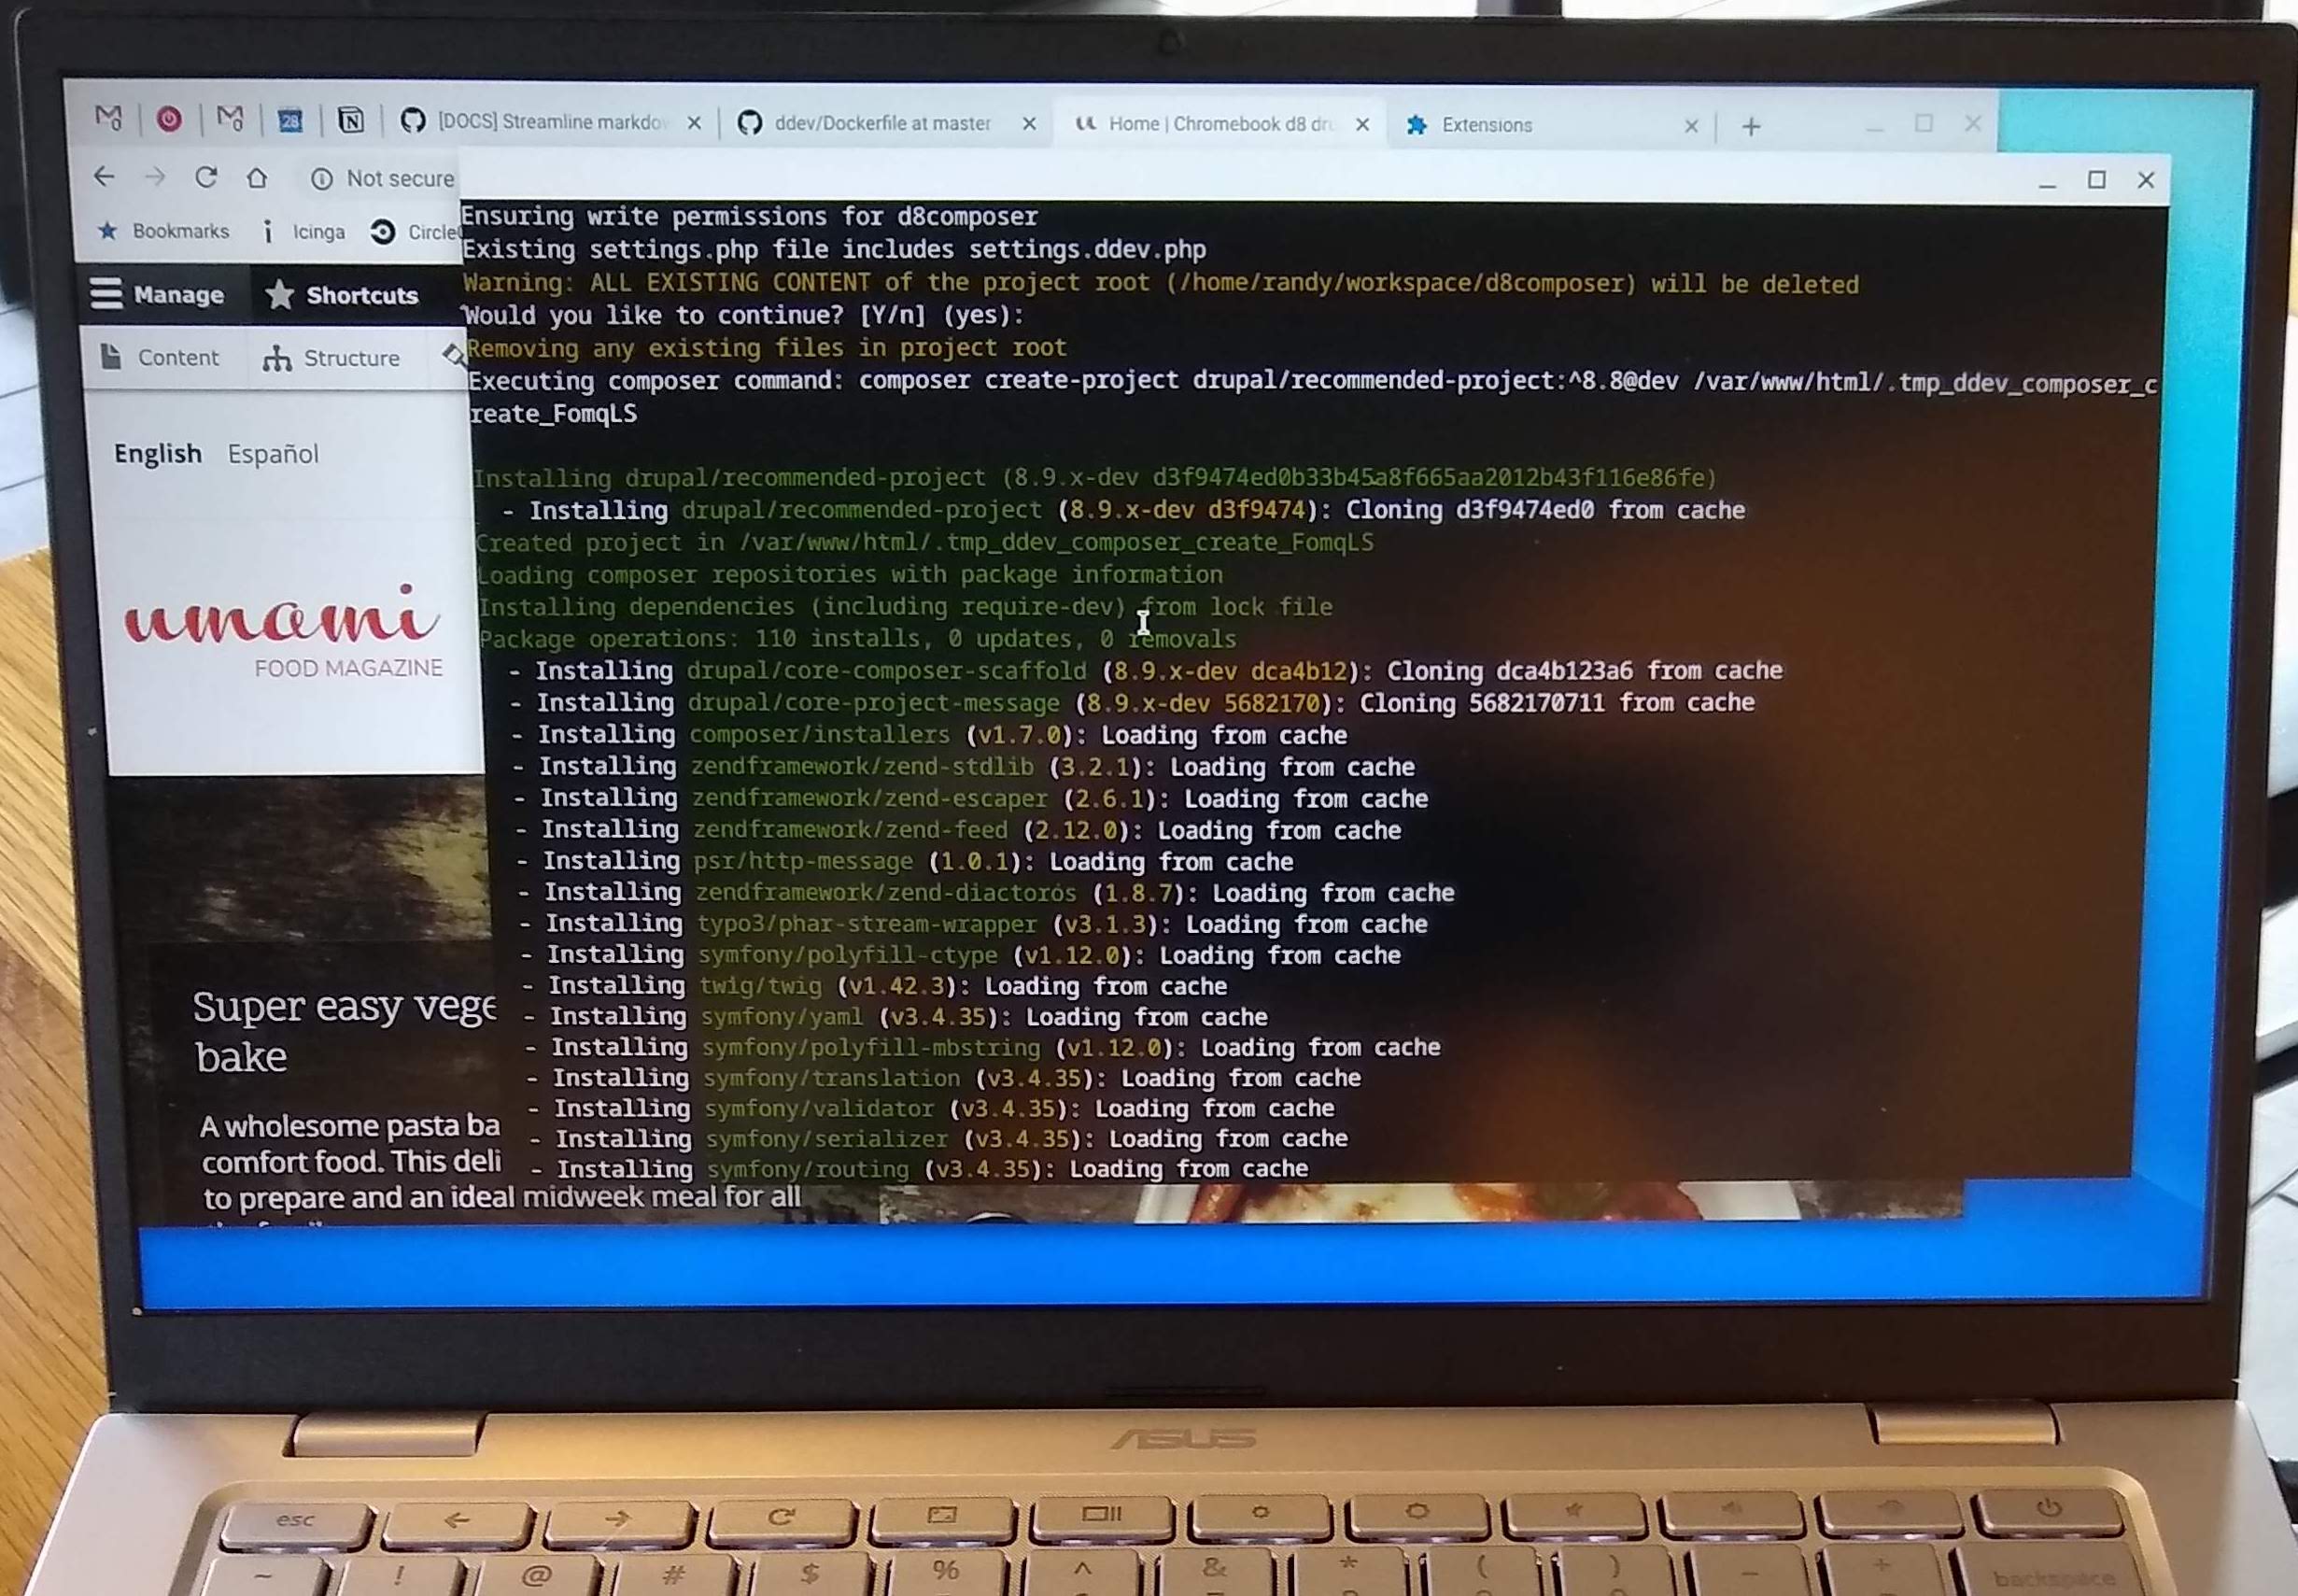
DDEV and Docker CE work fine for local development on a Chromebook!
A few years ago I wrote the first version of this article after experimenting with an 8GB Asus C425 for $329, which is a lot less than any fancy Mac. It worked great, mostly because Chromebooks can run pure Debian Linux in what they call the “Terminal”.
Fast forward to 2025 and I saw an enticing review of the very nice 16GB Lenovo Chromebook Plus, which turns out to be an ARM64 machine (the same architecture as Apple Silicon). It’s a much beefier machine, with great build quality and a much higher finish level, but again very nice.
Installing on a Chromebook is a reminder of how versatile DDEV is. In almost any environment that has a Docker provider you get get it going with minimal effort. That includes Windows, WSL2, Mac, Linux, Chromebook, even Raspberry Pi.
Basic Chromebook Setup for DDEV
Here’s the step-by-step to set up a DDEV development environment in 2025:
-
In Settings → About ChromeOS → Developers → Linux Development Environment, “Set up”. (For the disk size, you’ll be using Docker images, so I used about 100GB, but it’s what you need that matters.)
-
In Linux, create a password for the username you’ve created by running
sudo passwd $USER. -
Do some basic updates:
sudo apt-get update && sudo apt-get upgrade -y sudo apt-get install -y git vim curl wget gnupg2 lsb-release apt-transport-https ca-certificates -
Install Docker CE as in the Docker docs for Debian (See also DDEV docs.)
-
Install DDEV using the normal Debian install instructions.
-
Add your user to the
dockergroup by runningsudo usermod -aG docker $USER. -
Reboot the Debian container by running
sudo reboot, then open “Terminal” again. You should be able to rundocker pssuccessfully. -
To access your site in a browser, you have two options. The first (preferred) is to install a browser like Chromium or Firefox and use the system’s built-in graphics to run it. The second is to use the Chromebook’s browser, which is far more complex. I’ll add an addendum about how you can do it, but it’s not easy and not recommended, but it’s a fun demonstration of
dnsmasq. -
Install the Chromium browser with
sudo apt-get update && sudo apt-get install -y chromium. You’ll also want to runmkcert -install. Then use the browser inside the Debian Linux container. -
Create your project or check it out,
ddev config,ddev start. Everything works, includingddev launch. Create a project the normal way and get to work! This is the simple path to a Drupal 11 Composer build, but there are lots of other DDEV quickstart guides.mkdir -p ~/workspace/d11 && cd ~/workspace/d11ddev config --project-type=drupal11 --docroot=webddev composer create-project drupal/recommended-projectddev launchand go install it!
-
If you want to use PhpStorm or GoLand, they’re easy enough to install in the Linux environment. You may need to install
snapdfirst, (sudo apt update && sudo apt install -y snapd) and then install them withsudo snap install phpstorm --classicorsudo snap install goland --classic.
Some comments about working with the Chromebook:
- It was a pleasant experience with a nice keyboard. Outstanding performance, but less than my MacBook Air M4. It has great battery life, even with Docker running and doing lots. It has Linux (Debian), which is lovely. And the Linux side has great graphics support (GUI Linux apps work well and display with no effort). It has two USB-C ports but also a USB-A.
- As with Windows with WSL2, having two completely different computers running on one computer adds complexity along with its power. I had to run several tools in the Linux environment (like GoLand and PhpStorm, both worked there though as snap installs.) And I ended up running 1Password both in the Chrome side (browser extension) and as an app on the Linux side so I could get proper SSH Agent support from it. You have a great Linux computer that works with the nice ChromeOS desktop, and the Linux is pretty much natural, standard, no hoops to jump through.
- I ran into some apps that I was unsatisfied with. Slack and Notion.so didn’t work well as Android apps. I installed Discord as an Android app, and didn’t like it much.
- Of course I didn’t have the versatility of the Mac or the predictability and wide app support of Windows, but if I were doing only web development and normal editing/daily work stuff it might work out. Mainstream environments are easier. Plain Ubuntu is easier because it’s just one machine, not several.
Adding dnsmasq to Use the Chromebook-side Chrome Browser
These instructions help you to use the Chromebook-side Chrome browser and access the DDEV web server running in Debian Linux (Crostini, or terminal). It’s easier just to use Chromium inside the Debian terminal app.
Basically, the Chromebook-side browser doesn’t innately know about the lovely Debian Linux instance that’s waiting there, so it doesn’t know how to connect to DDEV, which essentially appears to be on a different computer. These instructions are inspired by How To Apply ChromeOS’s Linux Container’s /etc/hosts Outside of the Container in Chrome, which is a little more complex than we need for most things, but it was certainly inspiring.
These assume that you already have DDEV installed and working in the terminal.
- Install the simple DNS server
dnsmasqwithsudo apt update && sudo apt install -y dnsmasq dnsutils. - Configure DDEV to allow connections from other machines with
ddev config global --router-bind-all-interfacesand optionallyddev config --bind-all-interfacesfor your project. (The Chromebook/Chrome side is essentially a different machine.) - The CA (Certificate Authority) that Chrome uses to authenticate certificates is normally installed with just
mkcert -install, and you should already have done that, but remember that the Chromebook browser is completely separate from anythingmkcertcan access, so we’ll import the CA manually into Chrome. In Chrome’s Certificate Manager (chrome://certificate-manager/), go to “Local Certificates” and import from “Linux Files” therootCA.pemin the directory shown bymkcert -CAROOT. (I didn’t know how to navigate to the hidden directory~/.local/share/mkcertso I just copied~/.local/share/mkcert/rootCA.peminto myDownloadsdirectory.) - Find out the IP address of the
terminalDebian container withdig +short penguin.lxd. Mine was100.115.92.204, so I’ll use that as an example. - Now we want to configure
dnsmasqto act as a fairly normal DNS server, but also one that reports*.ddev.siteas100.115.92.204in my case.
/etc/dnsmasq.d/ddevsite-rulescan containaddress=/ddev.site/100.115.92.204/etc/dnsmasq.d/upstream-dnscan containserver=1.1.1.1, which just makes it query Cloudflare’s DNS for everything it doesn’t know about.- Restart dnsmasq with
sudo systemctl restart dnsmasqand you should be able to look upsomething.ddev.siteusingdig +short something.ddev.siteand it should report thatsomething.ddev.siteis100.115.92.204in my example. Normally we always uselocalhostor127.0.0.1for this, but here we’re essentially setting up for access from a different computer, so we’ll convince the Chromebook to use thednsmasqserver as its DNS server.
- Configure
/etc/dhcp/dhclient.confwithecho 'prepend domain-name-servers 127.0.0.1;' | sudo tee -a /etc/dhcp/dhclient.conf > /dev/null. - Convince the Chromebook to use
dnsmasqas its DNS server with Settings (lower right) → Your WIFI/network → Network → Name Servers → Custom Name Servers - I wasn’t able to use the standard ports 80 or 443, so I changed to
ddev config global --router-http-port=8080 --router-https-port=8443to use ports 8080 and 8443 (followed byddev restart)
How Do You Use DDEV?
Where do you run DDEV? If you have a unique setup, we’d love to have a guest blog on ddev.com, or consider sharing the specs and adding a link to the Awesome DDEV Links List so others can check it out too!