Customizing DDEV images with a custom Dockerfile

Did you know that you can customize DDEV Docker images with some very simple changes? See the full docs but we’ll give some examples here.
There are two major ways to customize your DDEV web image:
- Add a Debian package into the image with
webimage_extra_packages(docs). - Add an “extension” Dockerfile with free-form instructions for adding onto the container (docs).
You can use these together (add packages with webimage_extra_packages and also do more sophisticated things in a Dockerfile).
webimage_extra_packages in config.yaml
The simplest thing to do is add new Debian packages. For example, add to the .ddev/config.yaml: webimage_extra_packages: [redis-tools, php${DDEV_PHP_VERSION}-yaml], and the redis-tools and php${DDEV_PHP_VERSION}-yaml (with your PHP version) packages will be installed in the web container. This little addition to the container happens once, and doesn’t slow down your ddev start after that.
Simple npm install with custom Dockerfile
Sometimes, though, people need to do things that are more specific than changing Debian apt packages. For example, you might want to override a configuration file with a replacement, or you might want to use npm to install something that is not managed with Debian’s package system.
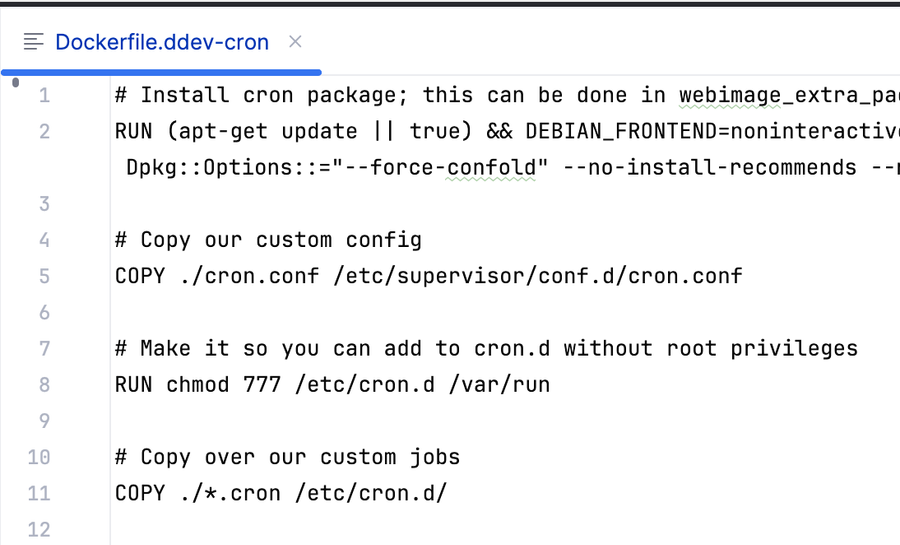
This kind of change can be done by creating a .ddev/web-build/Dockerfile.* (we’ll use Dockerfile.gulp-cli). Start by copying .ddev/web-build/Dockerfile.example`.
So, for example, if you have a .ddev/web-build/Dockerfile.gulp-cli with these contents:
RUN npm install --global gulp-cliThen the (global) npm install to install gulp-cli will be done (once) at build time.
Modifying configuration files
If you want to add files or override configuration files, it’s easy enough to do. For example, in this Stack Overflow question, a user wanted to put basic authentication in front of the MailHog configuration. The easiest way to do this is to override the /etc/supervisor/conf.d/mailhog.conf. So as that answer suggests:
- Put the new
mailhog.confandmailhog-auth.txtinto the.ddev/web-builddirectory. - Add a Dockerfile to
.ddev/web-buildthat uses the Docker build ADD command to put them into place:ADD mailhog-auth.txt /etc ADD .ddev/web-build/mailhog.conf /etc/supervisor/conf.d
But you could use this same technique for so many things. Do you need to completely override the /etc/php/8.4/fpm/php-fpm.conf file? Do it. Do you need to completely revamp the entire nginx configuration directory? You can do it. You can also add scripts into the container or even Linux binaries. And you can check the whole thing into your project so that other members of your team automatically have it.
pip3 installs
The Python world uses pip3 to install packages, and you can do that too.
This Stack Overflow answer goes into the details, but this Dockerfile.mycli should be a start:
RUN apt-get update && DEBIAN_FRONTEND=noninteractive apt-get install -y -o Dpkg::Options::="--force-confnew" --no-install-recommends --no-install-suggests python3-pip python3-setuptools
RUN pip3 install mycli
pecl/pear installs
Some PHP packages aren’t available as Debian packages, so this Stack Overflow answer shows how to install a package from the PEAR repository using a custom Dockerfile:
RUN apt-get update && DEBIAN_FRONTEND=noninteractive apt-get install -y -o Dpkg::Options::="--force-confnew" --no-install-recommends --no-install-suggests gcc make autoconf libc-dev pkg-config php-pear php${DDEV_PHP_VERSION}-dev libmcrypt-dev

# The "echo" below forces accepting the "automatic" configuration, the same as hitting <RETURN>
RUN echo | sudo pecl install mcrypt

# Because php7.1-mcrypt is already installed in web container, we can copy its `mcrypt.ini`
RUN cp /etc/php/7.1/mods-available/mcrypt.ini /etc/php/${DDEV_PHP_VERSION}/mods-available/ && phpenmod mcrypt
Join the conversation!
We’d love to hear about your recipes! Discuss them in our Discord channel, create a new DDEV Add-on, and let us know when you do, or blog about them and give us a holler when you do. And we’re always happy to hear from you on any of our support channels.